Well-come to the Worldwide Well
For this assignment I decided to build a digital well.
Before this assignment, I had never had any experience using Blender or any digital modelling/3D animating software. I have always been interested in building 3D objects but have felt overwhelmed by the complicated software and seemingly large amounts of time needed to master it.
So I decided to use this assignment as an opportunity to get over my fear of Blender and begin my 3D modelling journey…
A well-th of knowledge
Not knowing where to begin, I searched “Blender Tutorials” into YouTube and found a 15 minute tutorial that seemed simple. Little did I know that that first 15 minute video would take me over 3 hours to complete and that it was the first part of a series of well building videos.
Oh well…
(Thank you to YouTube tutorialist and Blender master Grant Abbitt who is the only reason I was able to build my well)
With the help of Grant Abbitt and a drive to not want to do a beginner Blender YouTube tutorial, I set off on my quest and began building the base of my well.

Immediately I was confronted by the sheer amount of tools and workspaces there are in Blender. There are multiple selection tools in Blender’s edit mode that are shockingly easy to mix up. I often had to play sections of the video multiple times before I realized where I went wrong.
In order to build the base of my well picture above I learnt how to use the bevel tool, the duplicate tool, the loop cut tool and the simple deform modifier. I then used proportional editing to “mold” each one of my bricks to make them appear more realistic.

I then duplicated my base and rotated the position of each brick to build the full stone base of my well.
(Lets just say I was feeling pretty s-well at this point)
Unfortunately, after completing the first video (in 3 hours) I hit a well…
Finally, as I reached the end of the video Grant Abbitt announced that for homework we needed to build this before the next video tutorial:

At the beginning of the video Grant Abbitt warned us that this video is not for complete beginner Blender users and recommended doing a beginner tutorial before attempting to build a well. I decided to ignore his advice and now I was going to pay the price.
I was at rock bottom…
However, where there’s a well there’s a way!
There was no way I was going to give up and start a beginner tutorial! I was in too deep! I dedicated 3 whole hours of my life to this damn well and you know DAMN WELL I wasn’t giving up!

Two hours later and I was left with this structure. It was not as beautiful as Grant Abbitt’s version (as a result of my significant lack of bevelling) but I felt so proud of what I made. A job well done if I do say so myself!
And it was onwards and upwards to the second well video
After figuring out how to build the structure of my well all by myself I was feeling pretty confident in my blender abilities (you could say my fears were quelled). However, the second tutorial video which focused on creating the roof shingles of the well definitely dispelled my new found confidence and challenged my patience and abilities.

After 2 long hours and a lot of trials creating my roof tiles, my well finally had a roof.
I used mesh tiles to create each shingle and used loop cuts and the knife tool to create the shape of each tile. I then used the extrude tool to make the tiles 3D and used the sculpting tab to make each tile look unique.
You might say I was well on my way…
I was getting closer and closer to climbing out this well
Finally, I had made it to video three. I was ready for the final challenge, Grant Abbitt had left me well prepared.
I could finally see the light at the end of the tunnel…

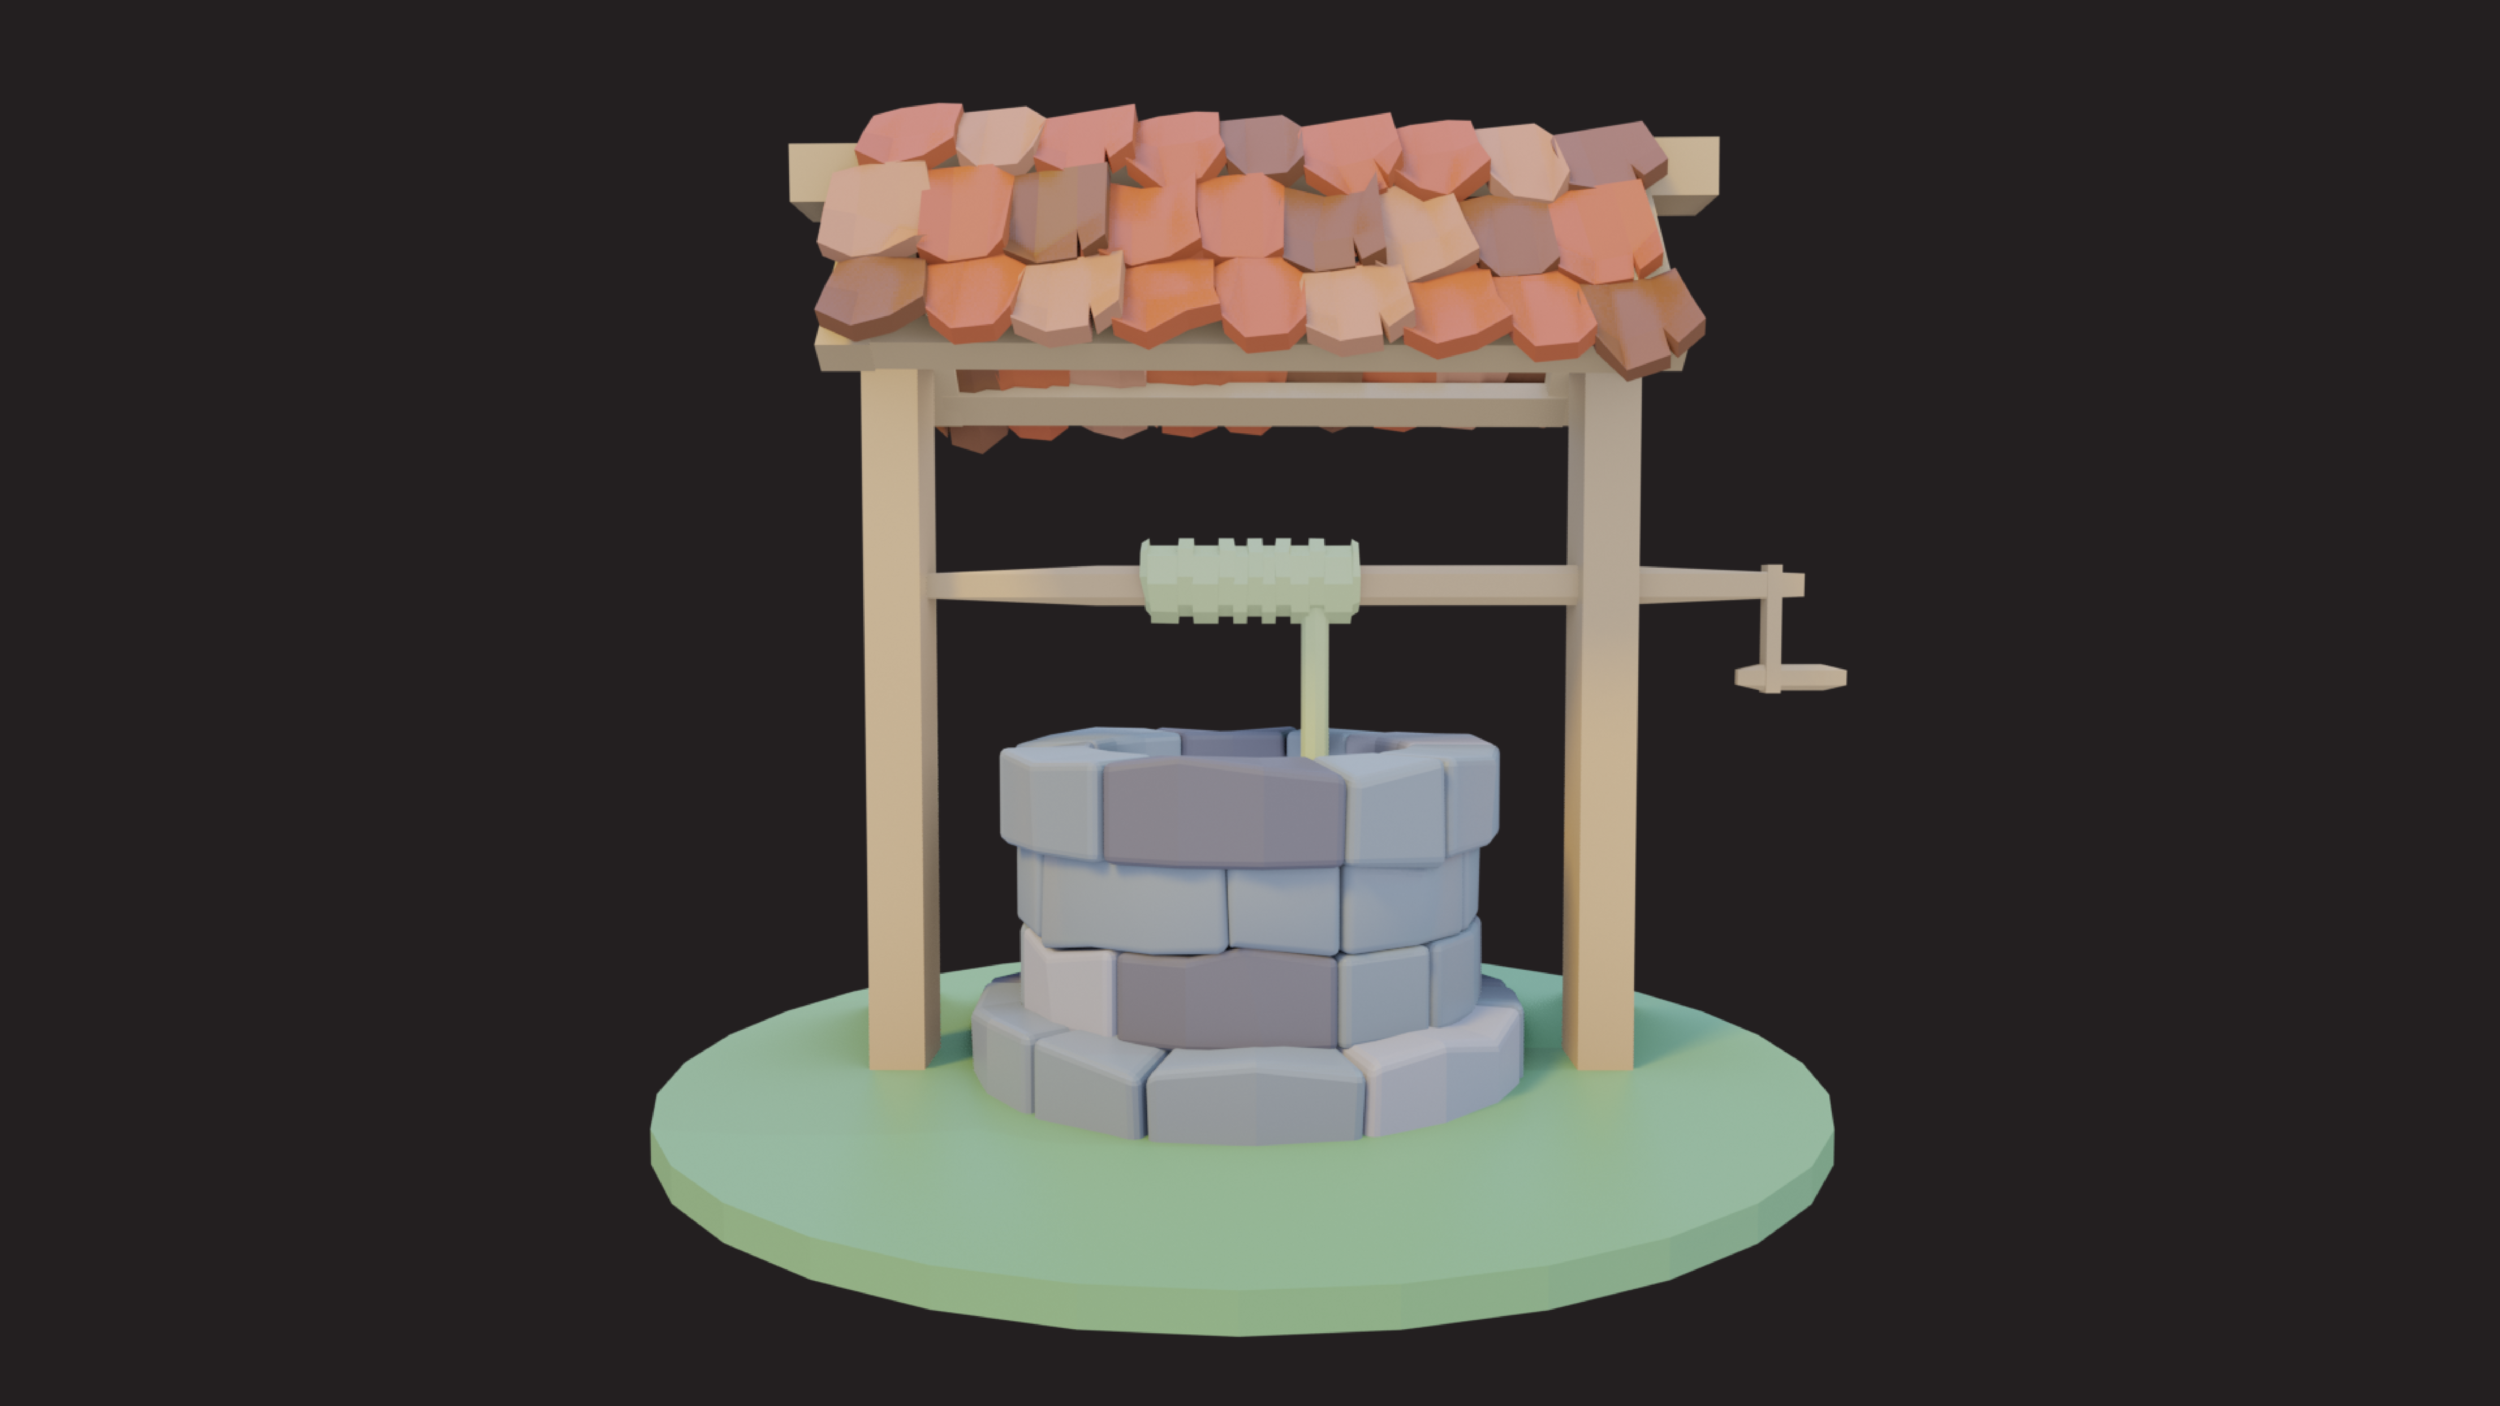
In my three final hours with Grant Abbitt (or so I thought) he taught me how to shade, texture and light my well. I finally saw my well taking shape and was able to drink the waters of my creation.

And there I had it! I had created my first 3D model in Blender! I work really hard and now I was left to reap the fruits of my labour. It was a well deserved victory!
Except…
Well.. it’s kind of a boring well
After all the hours of work all I had was a measly PNG to show for it. Sure, I put a lot of work into it and sure, it was my first time using Blender but…
It just didn’t do my well justice.
Throughout watching Grant Abbitt’s tutorials he continuously showed us his finished well through creating a turntable animation which allowed his well to be seen from all angles and made his model so much more dynamic. I wished that my well looked like his.
So I began to scour the web and low and behold Grant Abbitt had made a tutorial. And what a well-come tutorial it was.
Grant Abbitt had saved me yet again

In the video, Grant Abbitt explained how to build a “camera rig” using a circle and a ‘plain axis empty’. Through parenting the camera to the circle and then setting up the camera to follow the plain axis empty, I was able to create a 360° video of my well.
It was well worth the extra work.
Well… what now?
Building a 3D well is cool and all but what is the practical application of my well demonstration? Not to dwell but what was the point of creating this well?
As you might be able to tell, I have spent the past few weeks thinking a lot about wells. I know that for this project we weren’t supposed to create a fully resolved concept or idea but throughout the whole process of creating this well I couldn’t stop thinking about one question…
Why am I making this?
In the ancient world, society used to build their communities around water sources and wells. A well was a meeting place where communities could come together. They were united through their universal need.
I wanted to take this idea of a well representing a central meeting place and bring it into the modern world

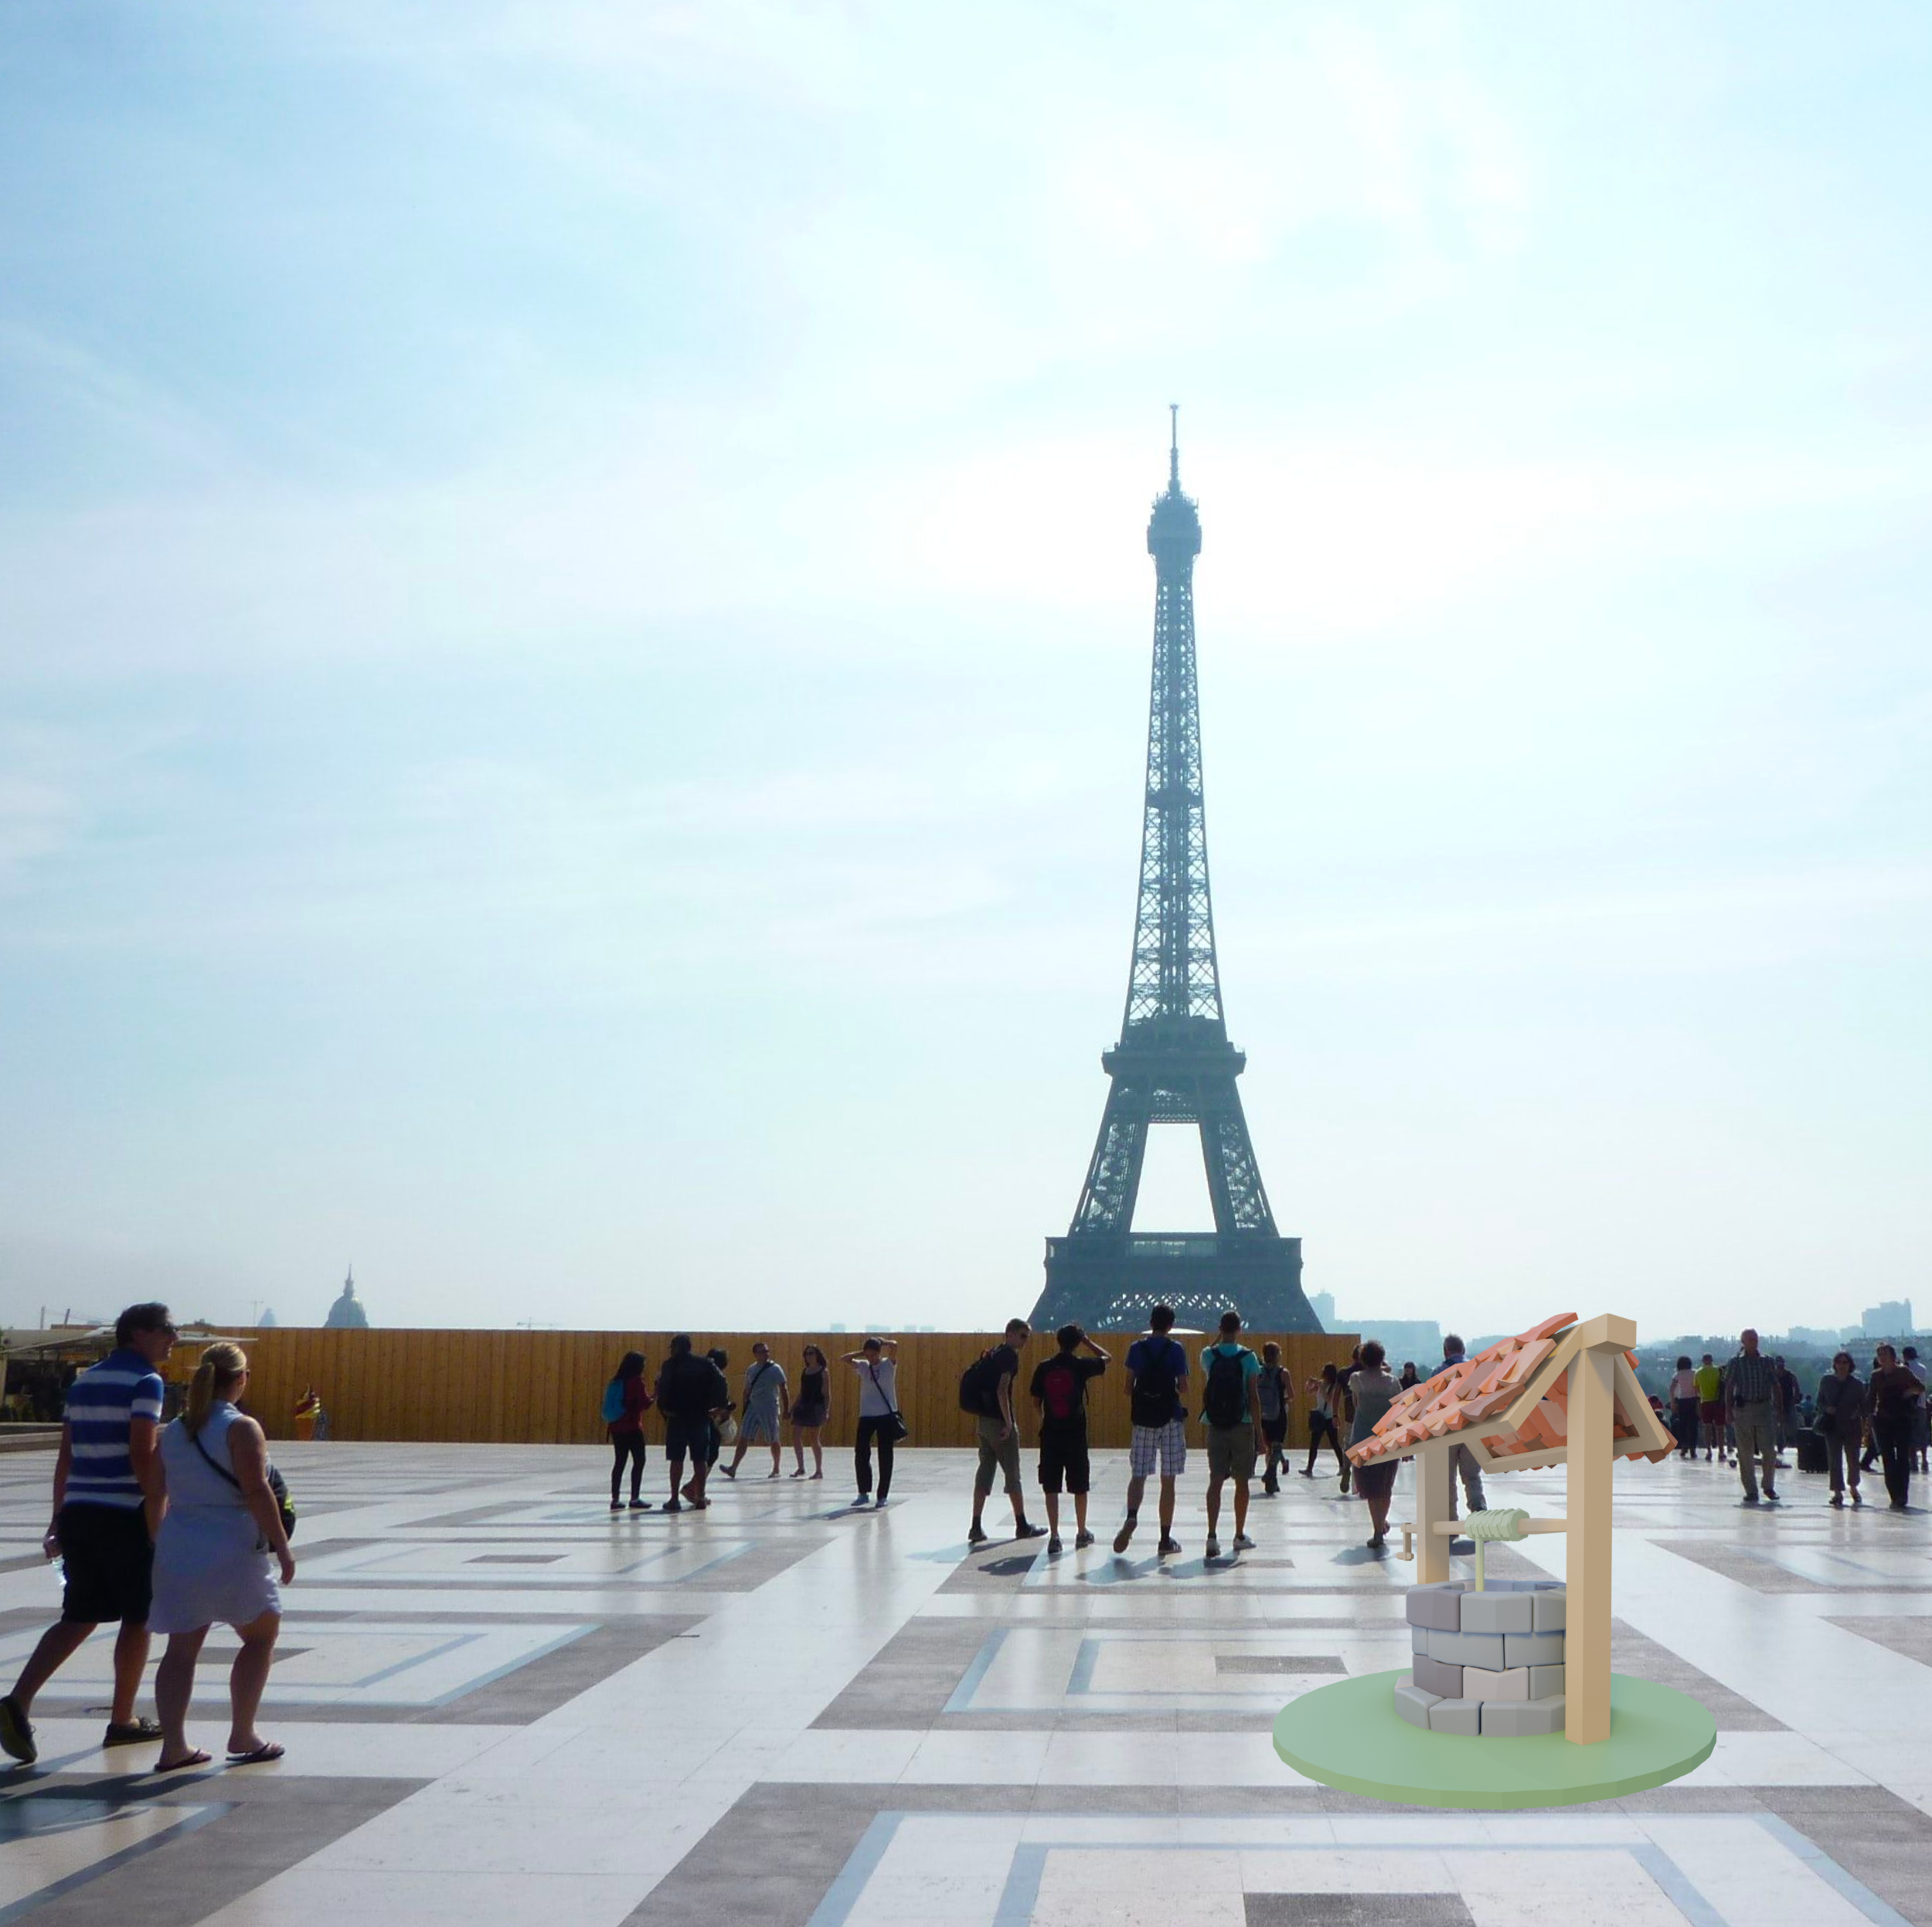

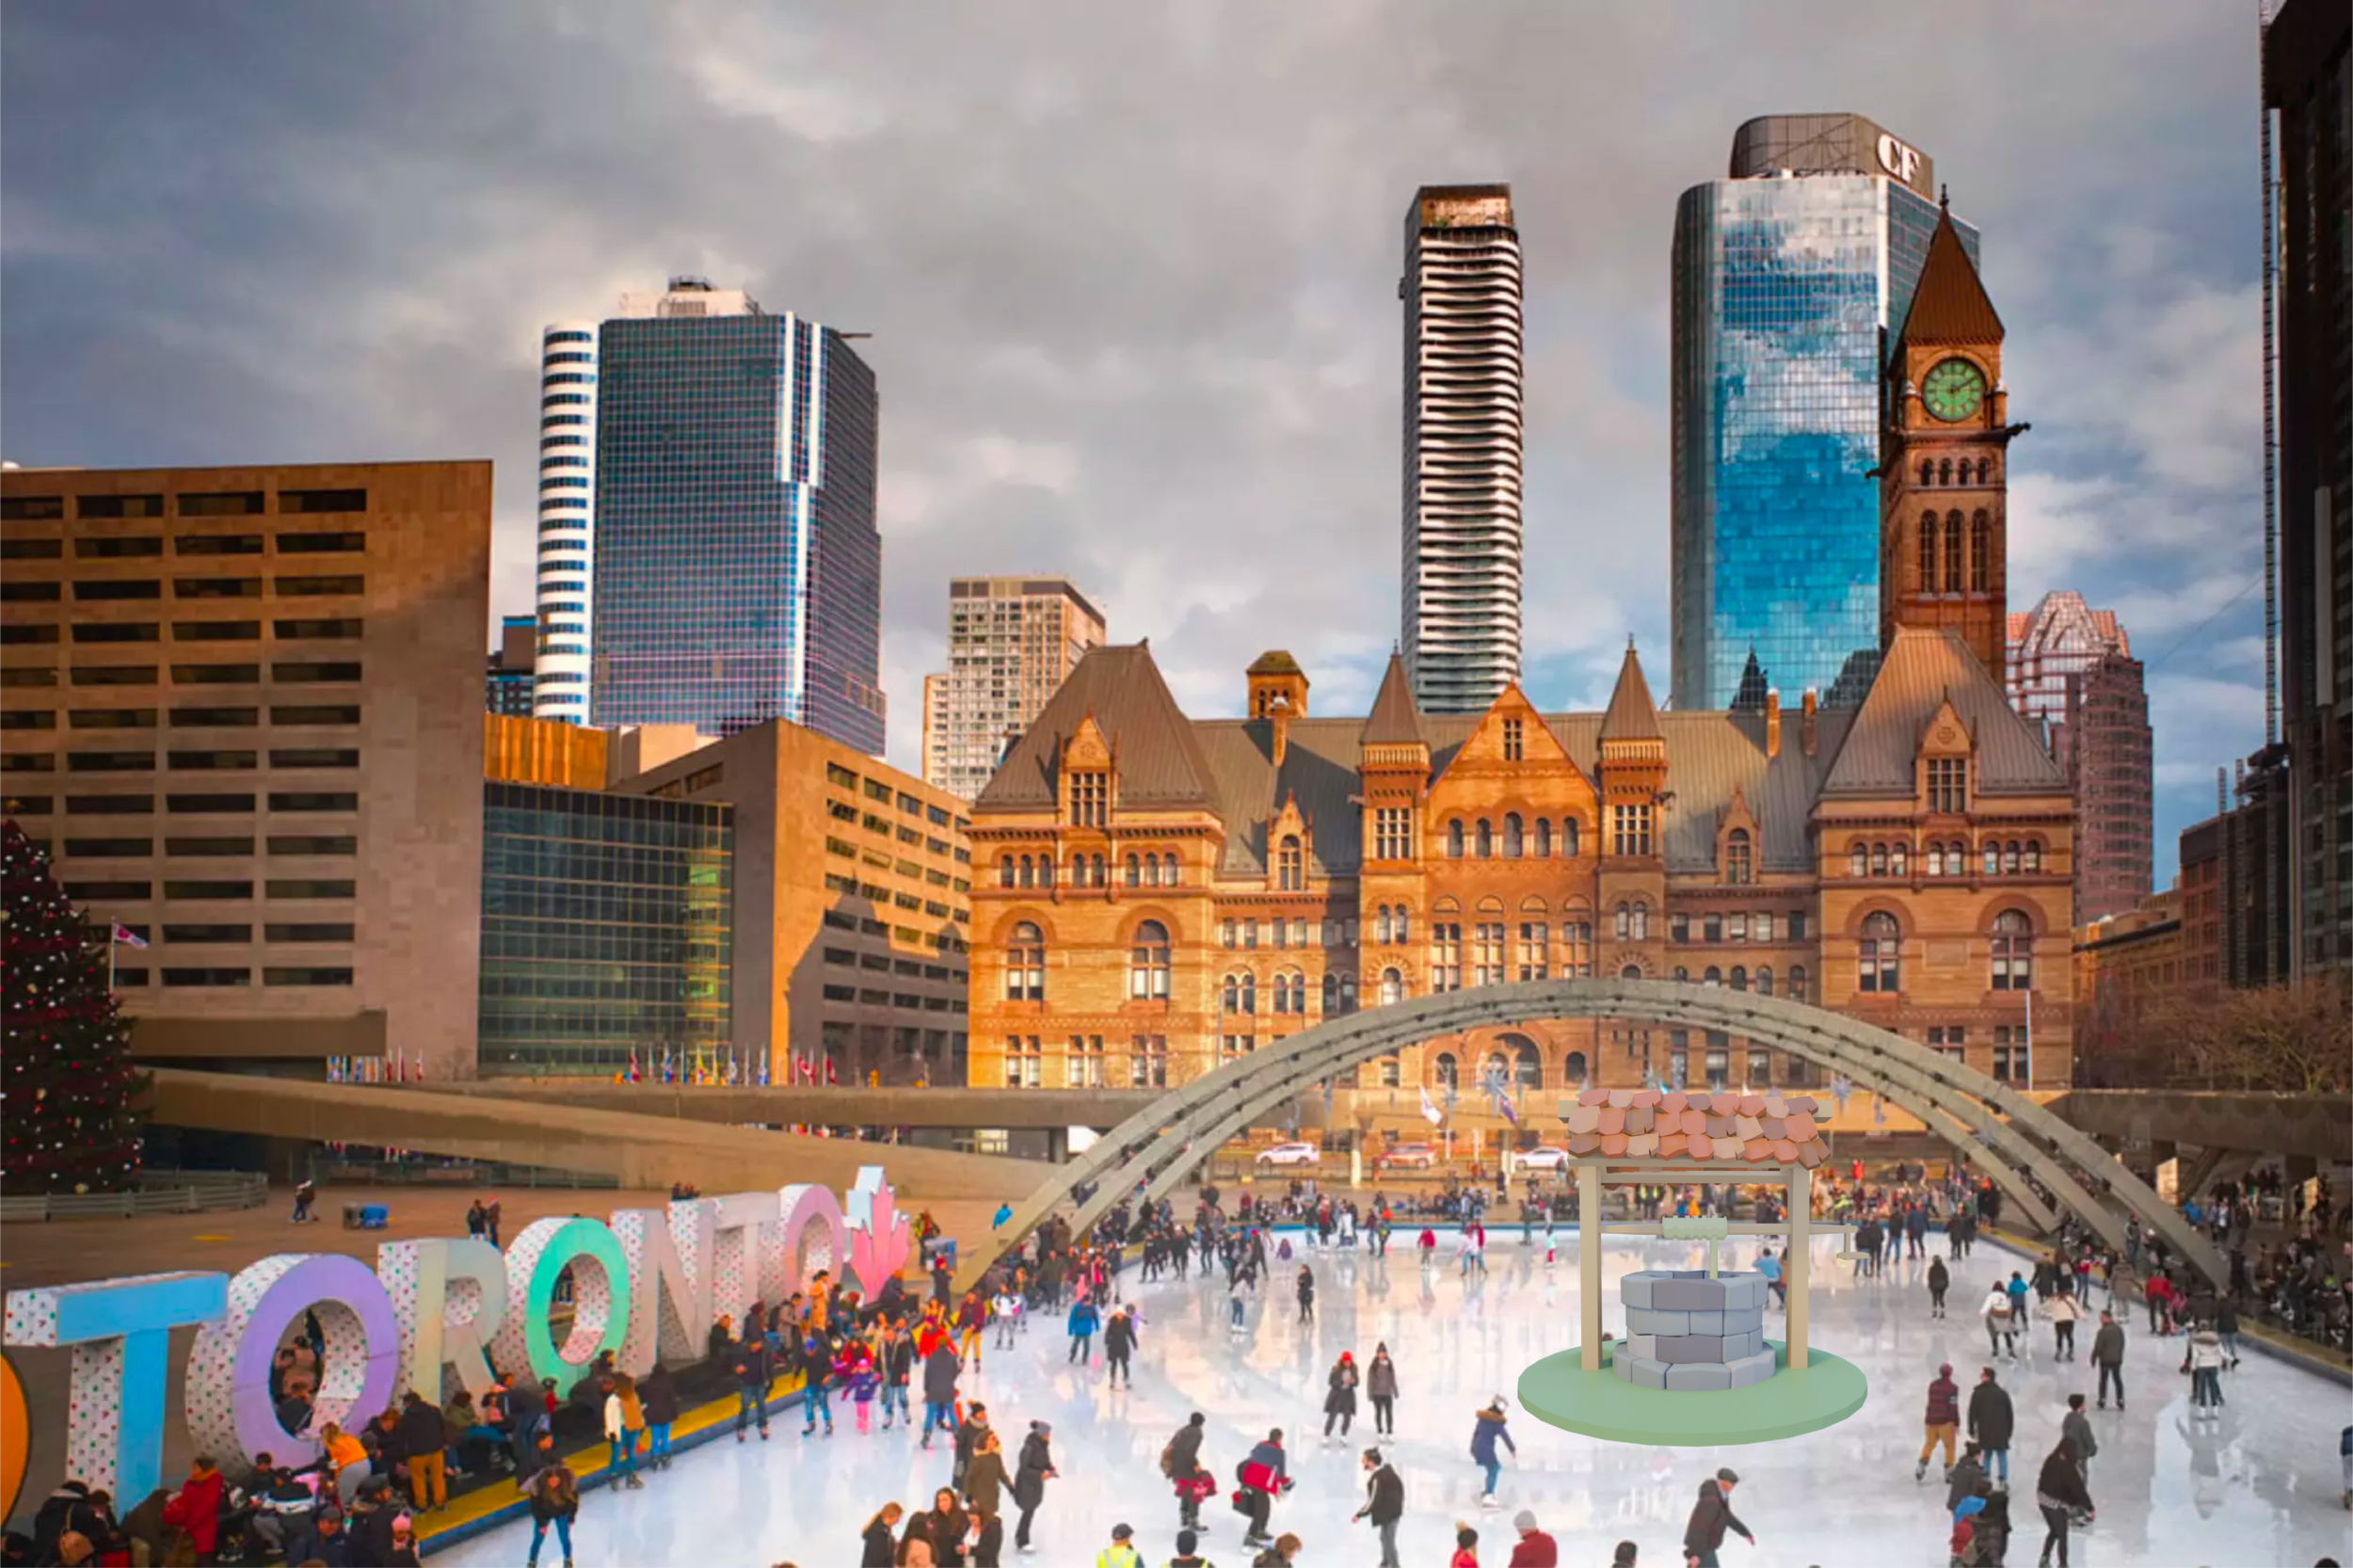
Uniting our past and present using augmented reality
Through using augmented reality we could transform these modern meeting spaces, connecting them to our past and our present. A well might be a relic of the ancient world but it also can represent human connection and community. Moreover, through using 3D modelling and augmenting reality, the well is thrusted into modern times and is representative of where we are now as a society.
Regardless of whether or not this project is ever made, I personally have learnt a lot from the well. During these trying times where we are all craving human connection, a well might be a reminder of what we have lost, but it also can be a symbol of hope for the future. We as a society are continuing to create new connections regardless of the pandemic - this class is even on Zoom! I hope that one day however, we might be able to reunite in these common meeting spaces around our wells.
And with that, there is only one thing left to say and that is…
All’s well that ends well.